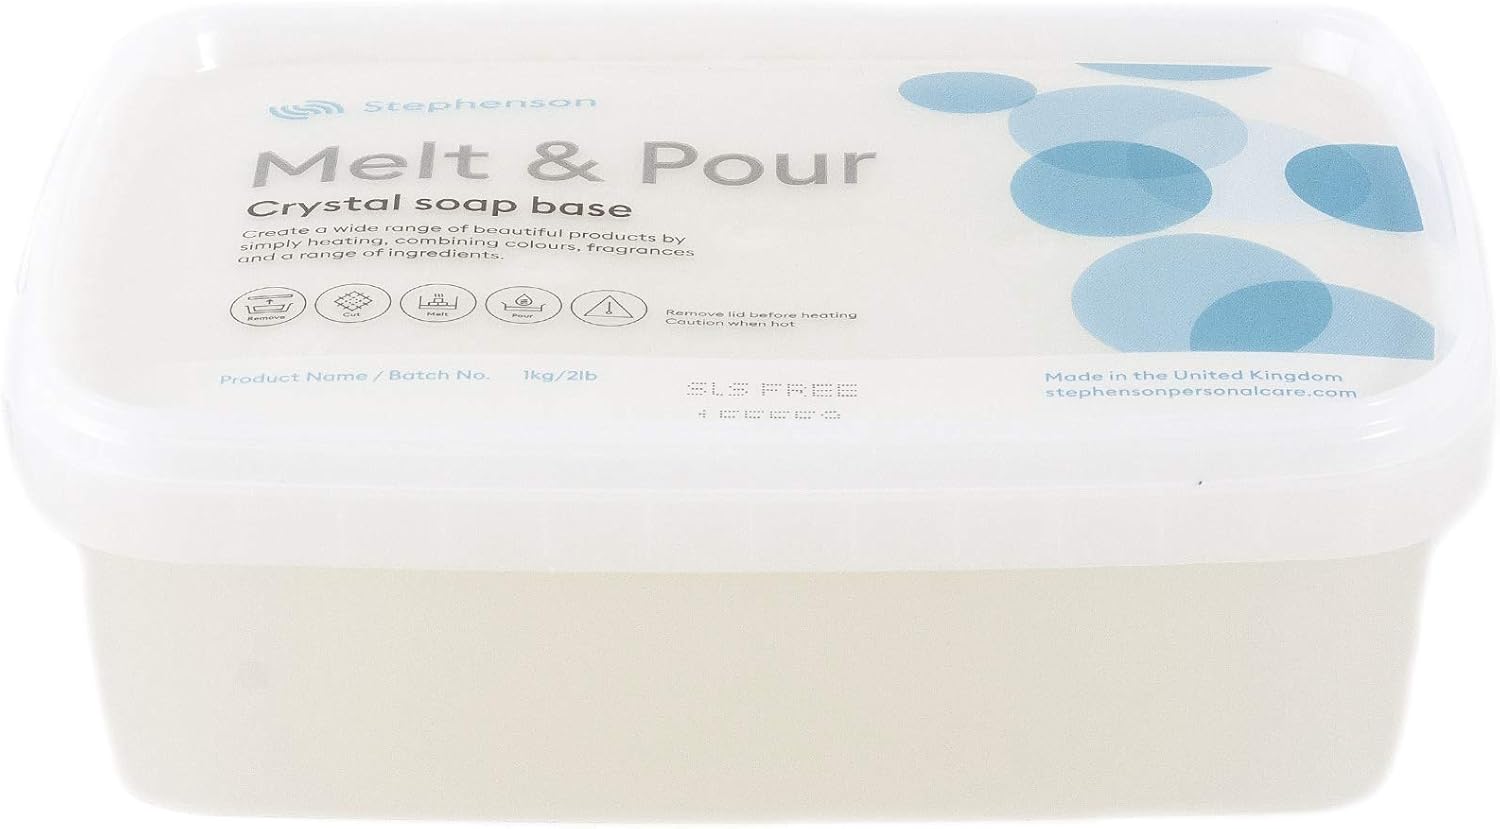
Stephenson Melt And Pour Soap Base Clear SLS FREE - 1Kg
FREE Shipping
Stephenson Melt And Pour Soap Base Clear SLS FREE - 1Kg
- Brand: Unbranded

Description
Melt-n-pour is so simple it lends itself to experimentation. My first simple experimental soap was a 'Jam Tart' soap, which was well received by small children and a great way of adding a little fun to a childs bathtime. The simple techniques of combining sheets of soap which can be separately coloured and/or fragranced and easily rolled or shaped whilst still slightly soft, with a separately coloured/fragranced soap poured into or around the shape can result in a huge variety of colours and appearances. Use opaque soap within a clear soap to show off the colours and shapes within to their best. Now pour your glycerin soap into the molds. If the base cools too much and gets chunky or stiff, remelt it and stir. Let the molds sit until the soap is completely cool.
For batch #6 I wanted to leave out the sugar solution and just use alcohol and glycerin. I bumped up the alcohol a bit. Step 16– After 24 hours un-mold. You can un-mold it as soon as it hardens, which is usually less than 24 hours. Whatever you are doing, the most important thing to remember is not to overheat your soap base. You need only heat it until it melts and no further (exceptions to this rule are the Natural or Organic bases which should be heated to 75degC to avoid 'blooming' in the finished soaps). Cutting the soap base into small chunks will help this, especially if using a microwave, although small chunks will melt far easier with any method used, so it's worth the time in doing this.
How To Use Melt And Pour Soap Base
Place as much soap base as you need into a heatproof container to melt it. I use a pint jar. Place the jar in a pan of hot water to melt, stirring occasionally. When melted, take the jar out of the water and place it on a cloth. Add a few drops of food coloring if desired. Stir well. Add more if needed. Next, add the essential or fragrance oil a few drops at a time. A 4-ounce bar should have about 10 drops of scent. Add any dried herbs you may desire, about a teaspoon per 4-ounce bar. This is where I started. I didn’t have a good alcohol, only 70% isopropyl so didn’t expect super clear soap. I wanted to try it without a sugar solution. Glycerin soap is often favored for its clarity, which allows you to see any embedded botanicals, colors, or other decorative elements within the soap. It also gives the soap a luxurious and visually appealing look. Is Glycerin Better Than Non Glycerin Soap? Oils – You want to choose oils that are high in stearic acid and that have a low amount of unsaponifiables that can cloud your clear soap. You want to choose oils that are not yellow or green tinted…Harriet uses tallow, coconut, castor and rice bran. Because you do add lots of solvents (some with water), you want to use a high amount of hard oils to create a hard bar. I would shoot for 60%+ of tallow, lard, stearic acid or palm oil. I tried a few different blends. The more solvents I used, the more stearic acid/coconut oil I used.
Is it perfectly clear? No. But I was tired of cooking it at this point! lol I declared it ready for the next step. Cover to prepare your sugar solution.
Step 3– You don’t have to let it cool down. Pour the lye solution into your melted oils/glycerin and blend to trace. Safety Warning: If you try this process be sure to have plenty of air circulation and avoid open flames because of the alcohol evaporation. You don’t want the fumes catching on fire. When working with sodium hydroxide wear safety gear including goggles and gloves. These instructions are for clear soap. Add some titanium dioxide or zinc oxide powder to get a white soap that will produce pastels when colored. (Find titanium dioxide here or zinc oxide powder here.)
Results: Decent lather. More clear than batch #1 and 2. Because of the high stearic, this one was a bit draggy to use and tightening to the skin. It will probably improve. But I wouldn’t make this one again… Superfat –Because superfat (unsaponified oils) can cloud transparent soap, go with a 0% superfat. We do add glycerin, and that acts as a superfat in your soap. Solvents Once you have your clear soap base ready, the next step is to personalize it with colors, fragrances, and additives. You can incorporate natural colorants such as clays or spices like turmeric or paprika. Beware, the color of some of these natural ingredients will fade with time. Step 9: Pour into your mold and put into the freezer until firm. As soon as the soap is firm, you can unmold it. So what is transparent soap? Transparent soap is simply hot process soap that uses solvents (sugar, glycerin and alcohol) to dissolve the soap crystals that form allowing light to pass, therefore creating transparency.
Creating Soap Colour
Clean-up is easy. (After all, it’s just soap you’re cleaning off your supplies.) Just soak the molds in hot water, rinse and dry well. Sugar – Sugar is a simple solvent that you can try in your transparent soap. You’ll need to make a solution before you add it to your soap. Each solution in each recipe makes more sugar solution than needed, so you’ll have a bit left over. Make sure the sugar is completely dissolved before adding the solution to your soap. White cane sugar and beet sugar work best. I tried raw sugar and brown sugar but it tinted the soap a bit. You can also try xylitol. I make a sugar solution using 1 part water to 2 parts sugar. You’ll need to heat it to a boil to make sure all of the sugar melts. As soon as it boils, stop heating or you might burn your sugar. Storing your soap There are soft forms of Melt & Pour soap bases available (often known as bath butter or 'ice cream' soap), which can be piped like a cream icing when warm, which can be used to great effect when 'decorating' soap 'cakes'. Step 2: Measure all base oils (including stearic acid) into a container and melt. I figured heat would help things along so I heated to around 180-200 degrees Fahrenheit. NOTE: If you’re making a batch of high-solvent content, add half, blend until clear and then add the rest. (Do this for batch 5 & 6.) If you add all the solvents up front, it takes awhile to come together.
Because the skin's pH is naturally slightly acidic (around 5.5), cleansing ingredients with an alkaline pH can disrupt the skin barrier and lead to irritation. That's why it's best to avoid sulfate-containing soap, especially if you have sensitive skin or eczema. "Sodium lauryl sulfate (SLS) is a harsh detergent that is very effective, but can be very drying," explains Zeichner. "In fact, it’s used in clinical trials as the positive control to elicit irritation in the skin in comparison to other products." Uh, yikes. So if you see sodium laureth and/or lauryl sulfate on an ingredients list, it's probs best to avoid. Consider your skin sensitivity Results: Not as clear as batch #5 with sugar solution. The sugar certainly does help with clarity. Not bad, though. Low lather. Step 8– Immediately cover with Press & Seal and the lid. Set to cook. You want as little evaporation of the alcohol to happen as possible so that it remains in the soap mixture to dissolve the soap.
The simplest technique is to colour a small amount of opaque soap base and pour it into a shallow mould. Once set, cut into small chunks or flakes. Make up a complimentary coloured batch of clear soap base. Place the chunks in the mould for the final soap and pour the second, clear soap into the mould over the opaque chunks. This gives a simple and effective appearance to an otherwise plain bar.
- Fruugo ID: 258392218-563234582
- EAN: 764486781913
-
Sold by: Fruugo